

As part of my ongoing Scrivener Tutorial series, we’ve reached number 4. Previously I’ve discussed how to Create a New Document and Work with Scenes, Making Document Goals, and Cool Tools in Scrivener.
Today in continuing with our Revision theme for January, I’m going to discuss how I use Scrivener when it’s time to revise, and why Scrivener is my go-to writing software for revision.
If you’re not sure of where to start with revising your WIP, check out the article I wrote on it back at the beginning of January: A Revision Checklist.
1. Compile/Export
At some point in your story’s process, you’ll want to put it in a program like Word or else convert the file into an ebook format. Scrivener makes this easy. Look for the “compile” button, or else click on “File” and go all the way to the bottom to find “compile.”

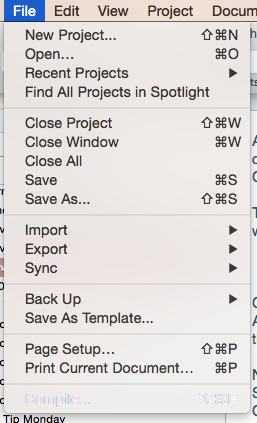
This gives you…
View original post 1,275 more words


Leave a comment